How to for mushroom grow kits
Thank you for purchasing a mushroom kit! Here are more in depth instructions on how to successfully fruit your own gourmet mushrooms at home.
* Cleanliness is very important when growing mushrooms, contamination can ruin your block. Make sure to wash your hands before handling your block and clean any tools with rubbing alcohol before use. Do not open your grow bag.
* When your kit arrives it is ready to begin the fruiting process. If you are not ready to start your kit, put your grow bag in the fridge for up to 7 days, before it will begin to lose its ability to fruit beautiful mushrooms.
Instructions for: Lion’s Mane and Oyster Mushroom Kits
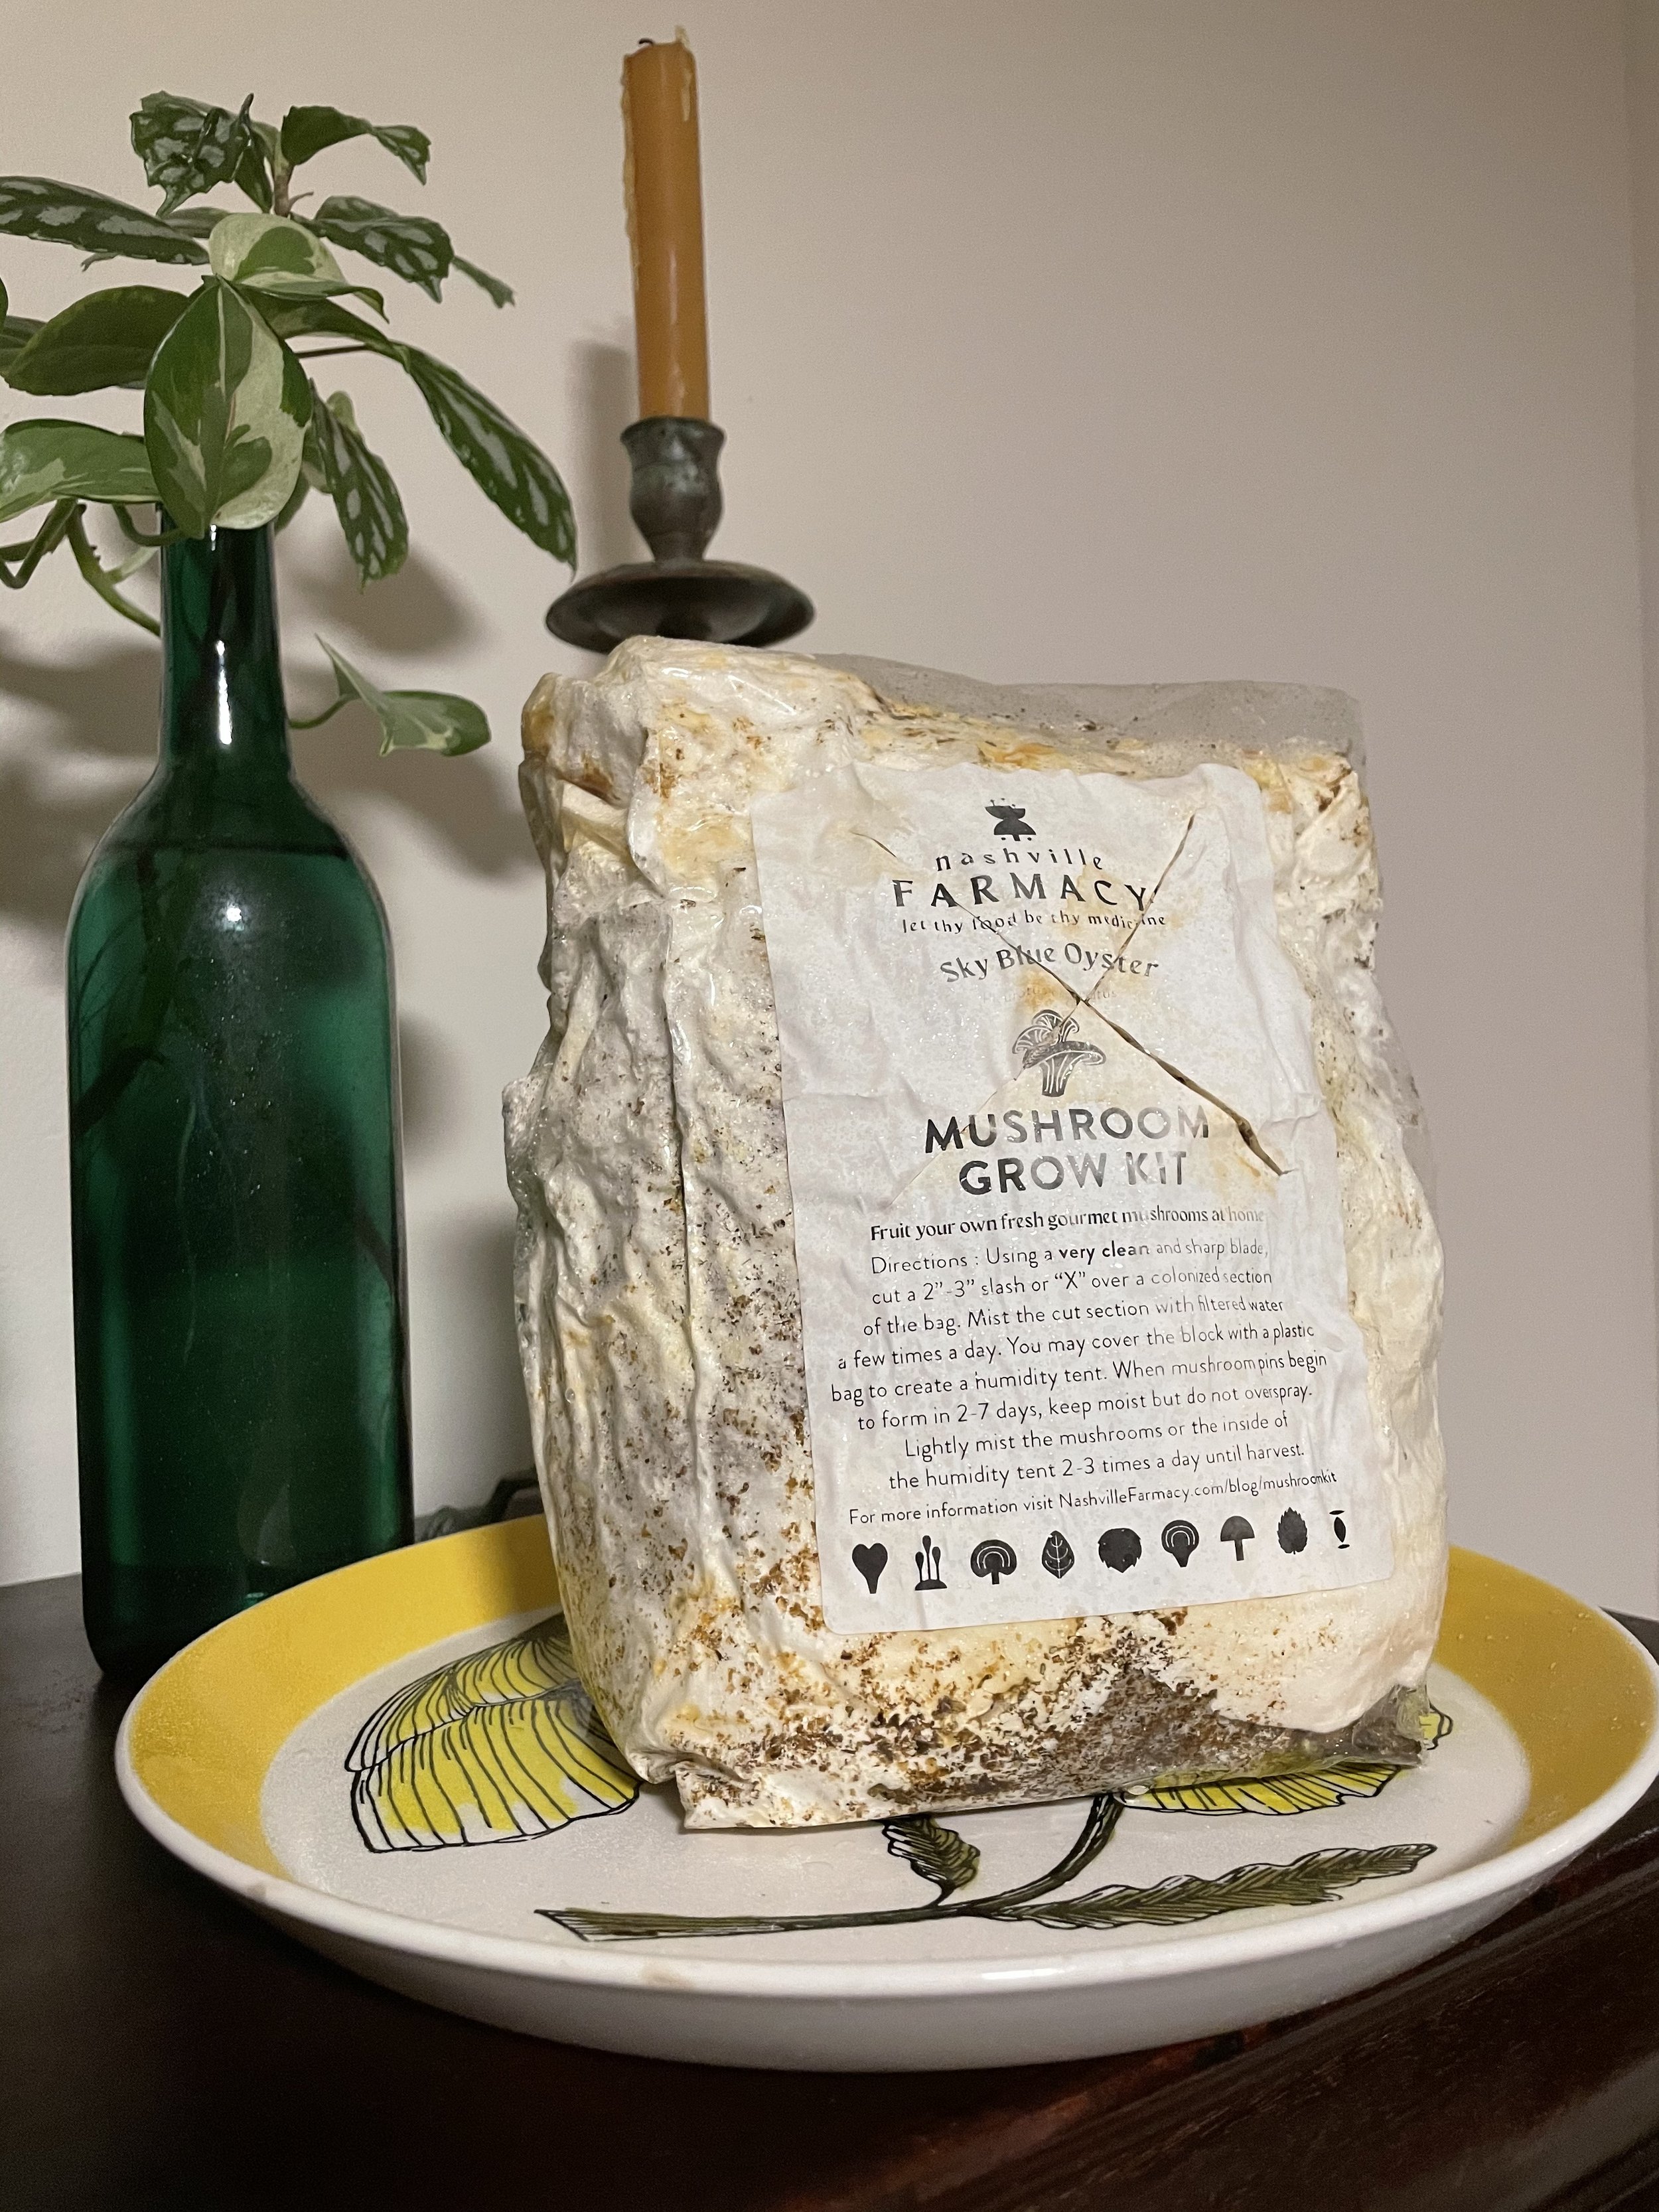
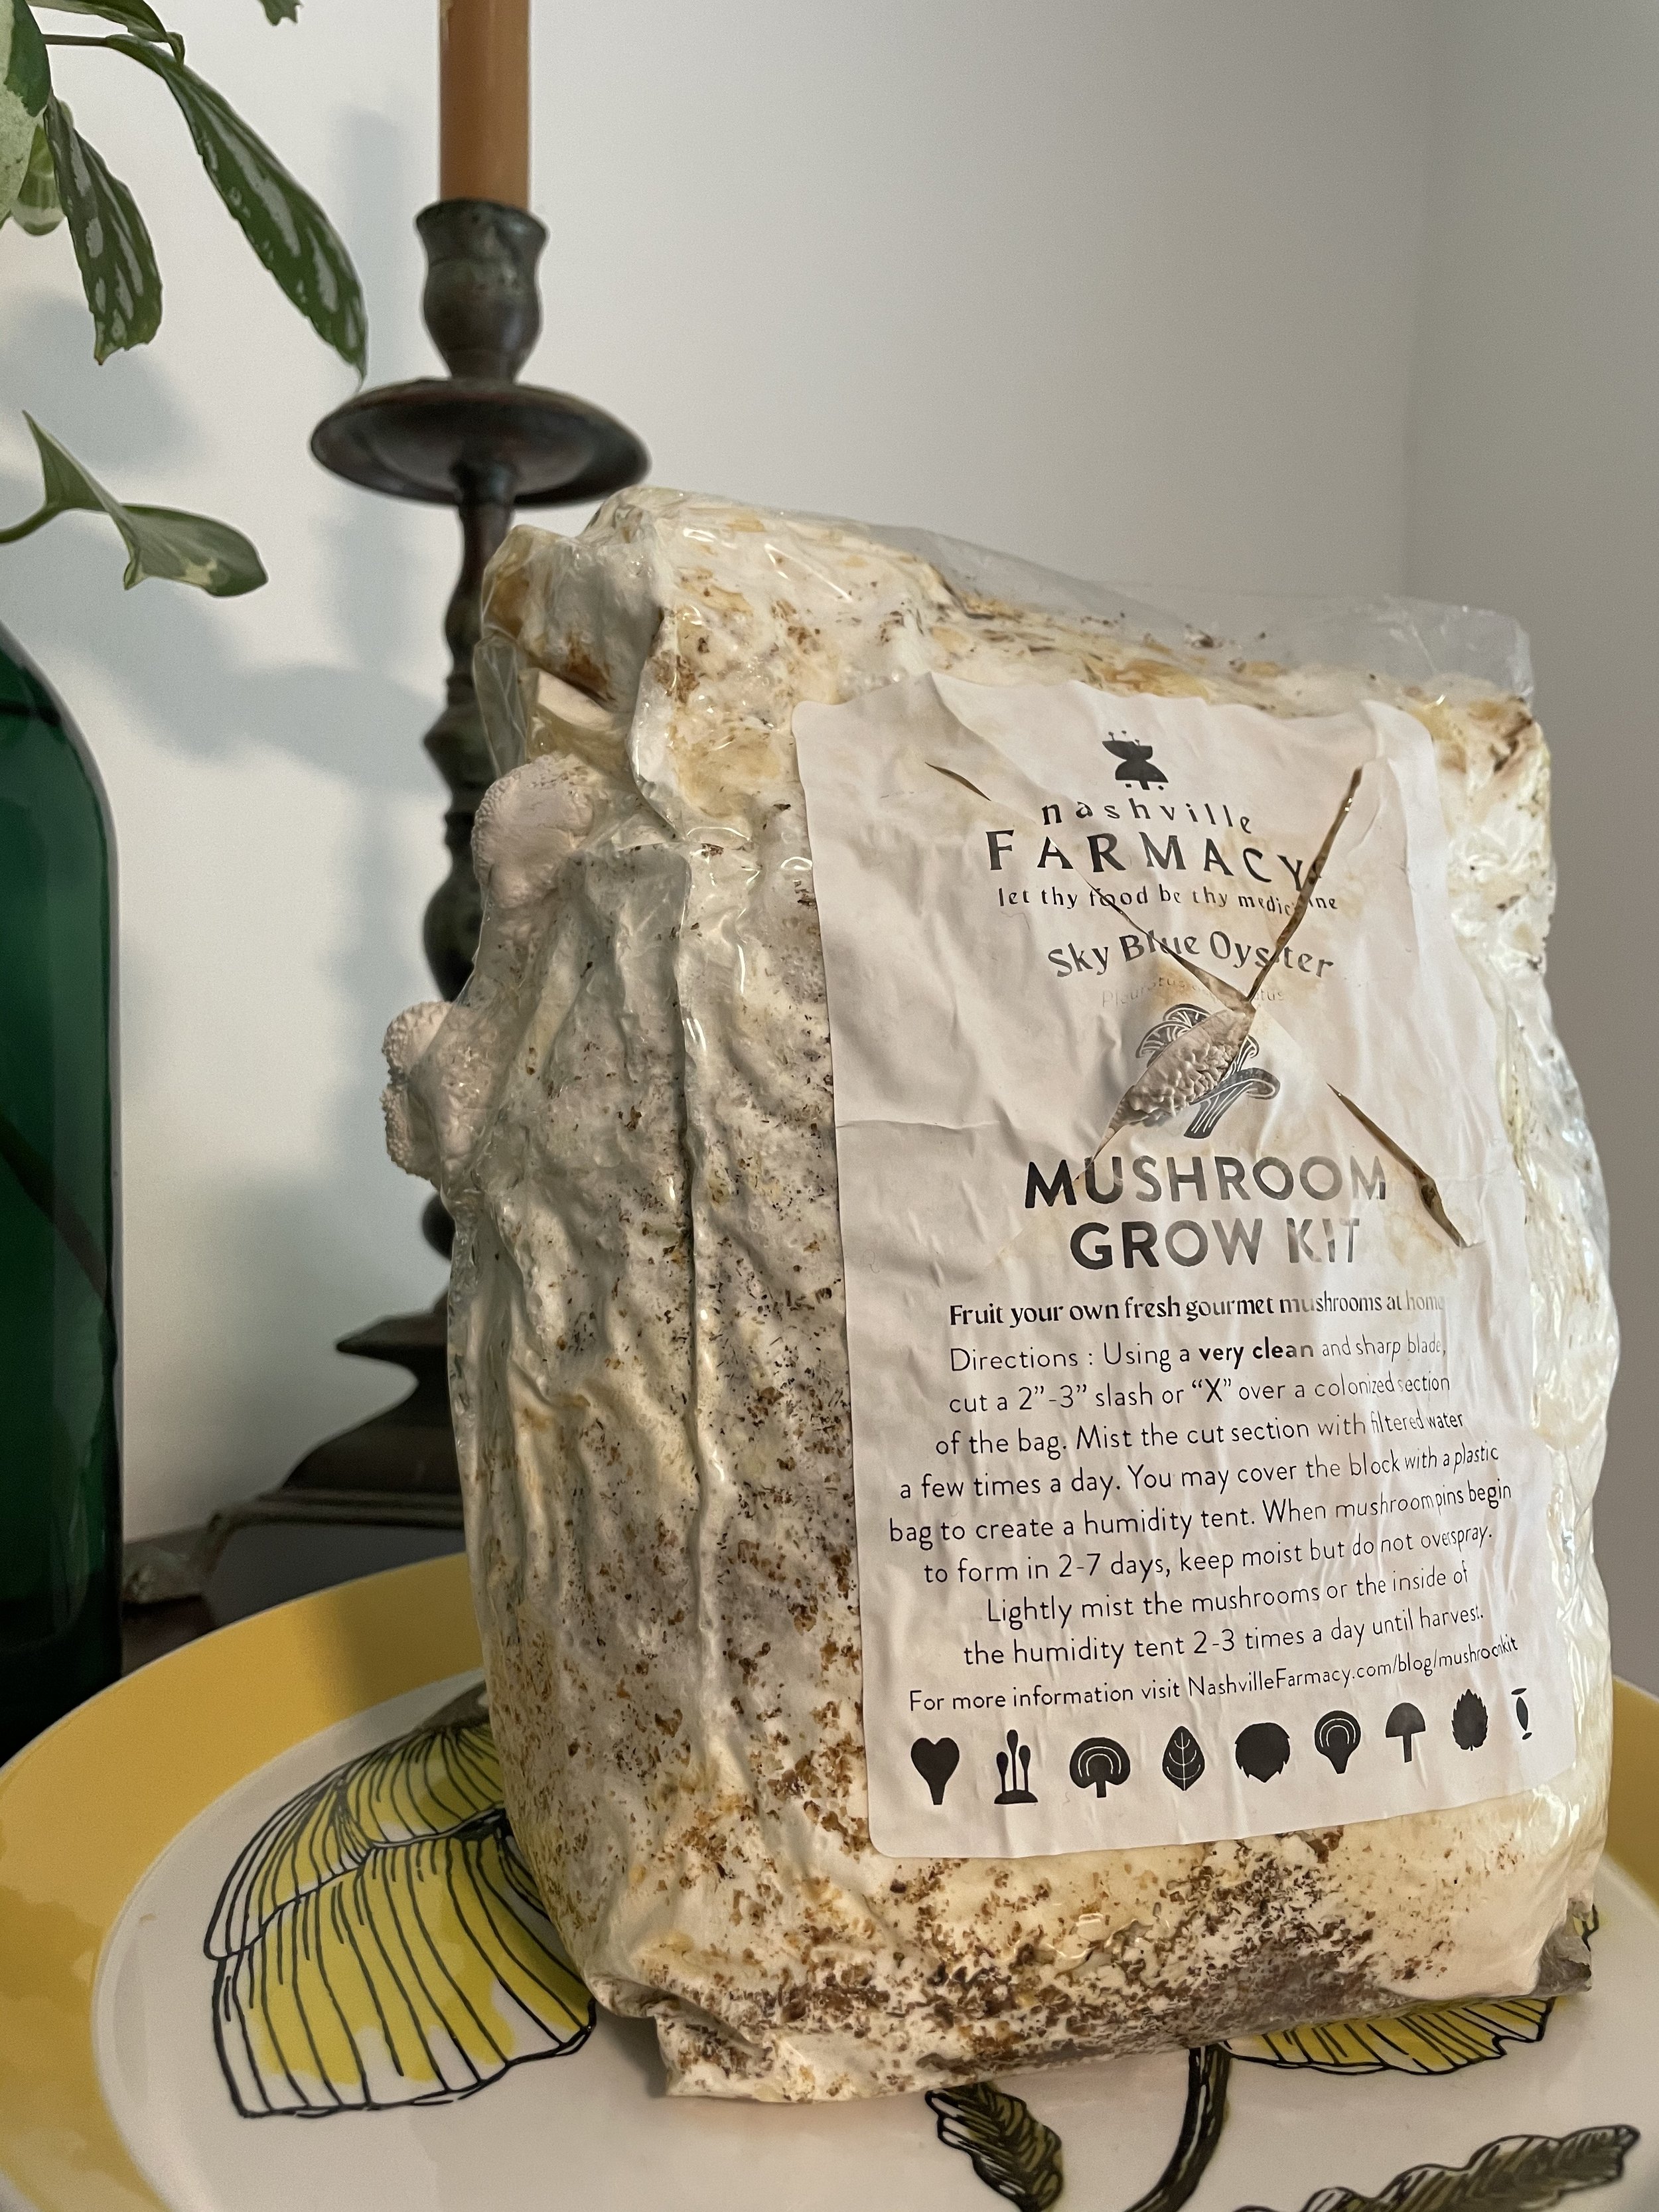
Using a very clean and sharp blade, cut a 2”-3” slash or “X” over a colonized section of the bag.
Mist the cut section with filtered water a few times a day, holding your spray bottle about 5” from the block.
If you live in a dry climate, it may benefit your mushrooms to create a small humidity tent around the block with a transparent plastic grocery bag. With your grow kit on the counter, mist the inside of the grocery bag and simply cover the bag from the top down, leaving some space for air flow around the base. Mist the inside of the bag 2-3 times a day.
When mushroom pins begin to form in 2-7 days, keep moist but do not overspray.
Lightly mist mushrooms or the inside of the humidity tent 2-3 times a day until harvest.
Second fruiting - After your initial harvest, your block may have enough energy to produce a second flush of mushrooms.
Cut a new “X” on another colonized portion of the bag, again using a very clean and sharp blade.
Repeat steps 2-5.
When your block is through fruiting, remove it from the plastic bag and add to your compost pile, or break it up and plant it directly in the ground! Plants and other creatures will thank you.
How to store your harvested mushrooms
In a bowl covered with a towel in the fridge. NOT in an air tight container or a plastic bag.
They will last up to two weeks in the fridge.
Cooking suggestions
Dry sauté in a skillet, over medium-high heat for about 5 minutes until the edges are browning.
Add onion, garlic, peppers, seasoning etc. (anything you’re flavoring with) and your fat (oil, butter or ghee).
Cook until caramelization occurs, 5-10 minutes, over medium heat. Remove from heat and enjoy!
Have a question about your grow kit? We’d love to help!
Submit your question below and we’ll do our best to respond aptly.


Fruit your own gourmet mushrooms at home!
These kits are made to order and will take 2-3 weeks to ship.
When your kit arrives it is ready to begin the fruiting process. If you are not ready, put your grow bag in the fridge for up to 7 days, before it will begin to lose its ability to fruit beautiful mushrooms.
If you live in a dry climate, it may benefit your mushrooms to create a small humidity tent around it with a transparent plastic grocery bag. With your grow kit on the counter, mist the inside of the grocery bag and simply cover the bag from the top, leaving some space for air flow around the bottom. Mist the inside of the bag a couple times a day.
Directions : Wipe down your grow kit with alcohol spray and a clean towel. Using a very clean and sharp blade, cut a 2”-3” slash or “X” over a colonized section of the bag. Mist the cut section with filtered water a few times a day. You may cover the block with a plastic bag to create a humidity tent. When mushroom pins begin to form in 2-7 days, keep moist but do not overspray. Lightly mist the mushrooms or the inside of the humidity tent 2-3 times a day until harvest.
Supplies are now optional. Please select the items that you need